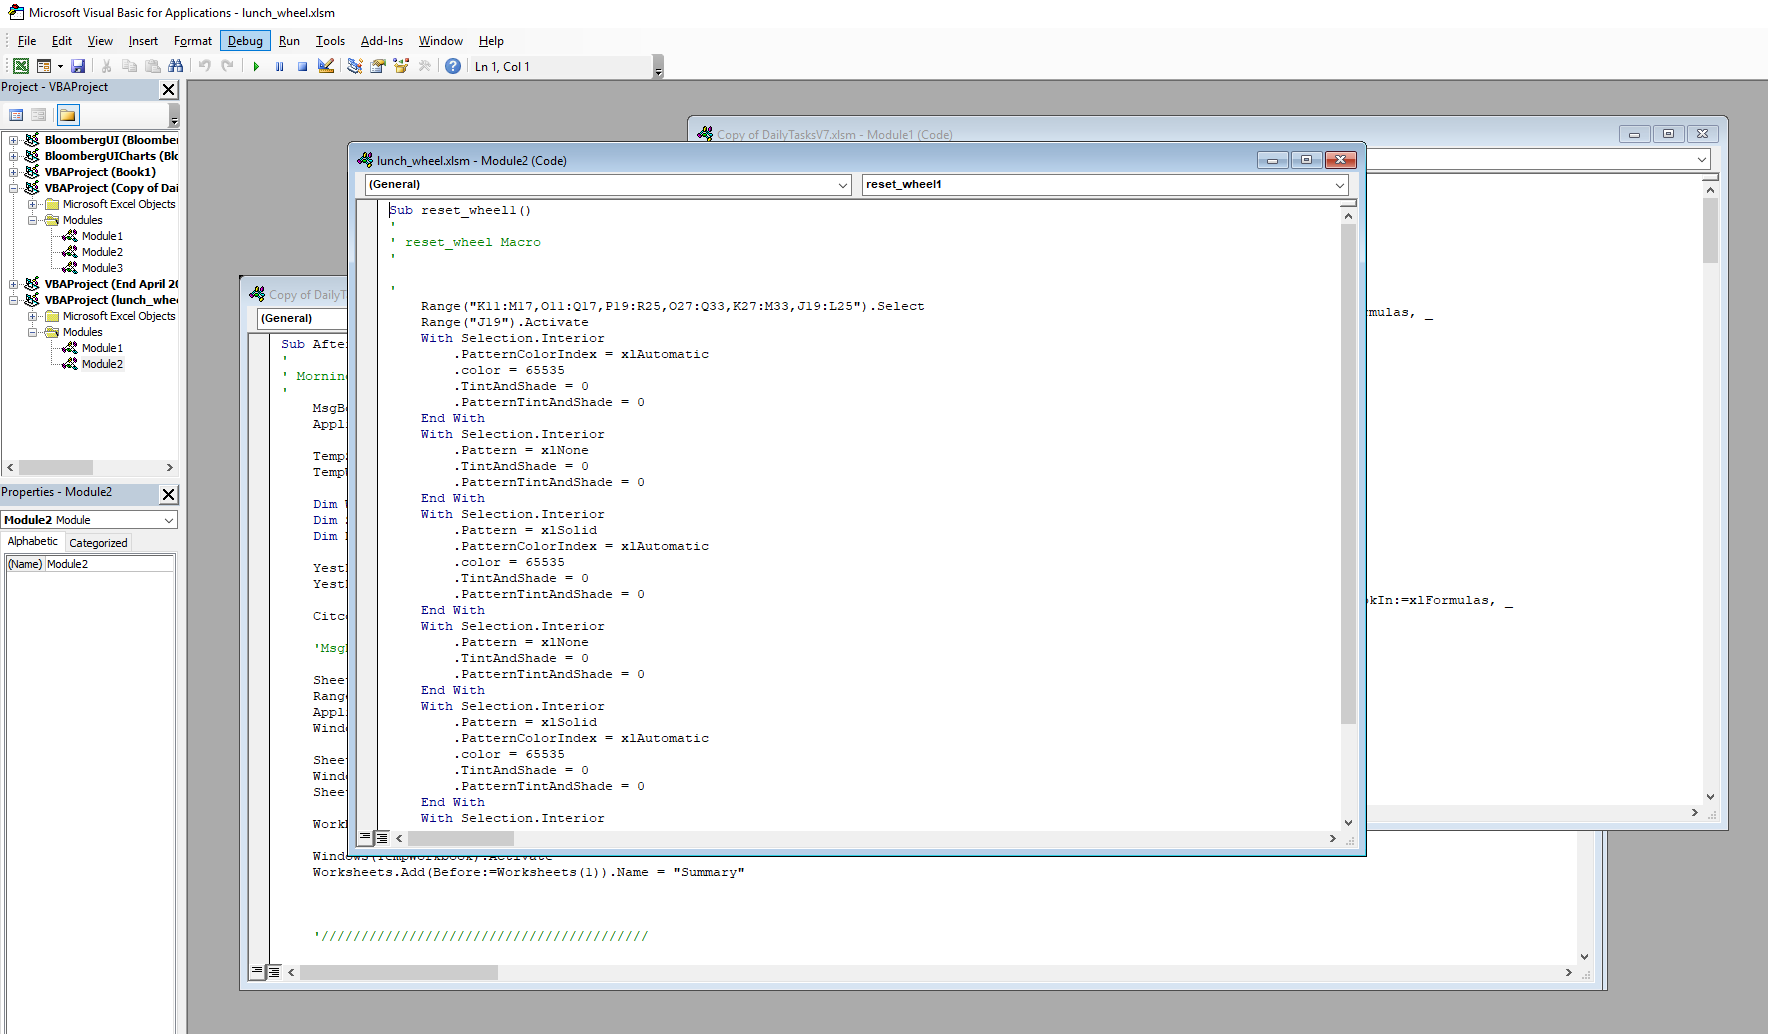
Excel VBA is a powerful tool which enables the automation of tasks in Excel. It can be used to automate many repetitive tasks along with more complex applications. This quick tip guide shows you how to open the Excel Visual Basic Editor (aka Excel VBA Editor) and get started with VBA programming in Excel. Having access to the VBA editor lets you write your own VBA code or … [Read more...]
Remove All Rows Containing Certain Data
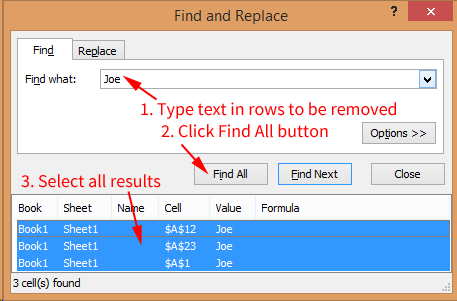
Recently I had some data from a website that was poorly formatted, but I needed to get it into a spreadsheet to work with. When I copied the data into the spreadsheet, I needed to remove all of the rows that contained certain irrelevant data, such as repeated header fields. Other use cases might require you to delete any rows containing someone's name, a location, or some … [Read more...]
Type Same Data In Multiple Cells
Have you ever had the need to type the same data in multiple cells in your Excel spreadsheet? If so, you know it can be quite the time consuming process if you have to manually type the data in a lot of cells. Even copying and pasting can be time consuming. Luckily there is an easy way to type same data in multiple cells. How to type same data in multiple cells Select all … [Read more...]
Use Silk to convert your Excel Files into an interactive online database with visualizations

Do you have an Excel file with information that you would like to publish on the Internet or share with co-workers? Maybe addresses you want to put into a map? A directory of partners and contacts? Or just a gallery of your favorite restaurants? For free? Then you might like Silk. Silk is a data publishing platform that lets you convert a spreadsheet into a live interactive … [Read more...]
How to Format Numbers as File Sizes
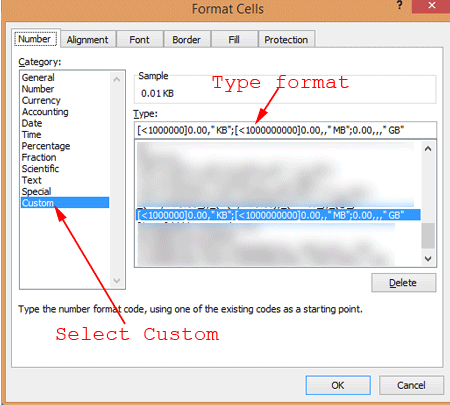
Have you ever had a list of files with accompanying file sizes that you wanted to use in some sort of calculation such as adding up the file sizes, averaging them, using them in some sort of chart or other calculation? The way we usually read file sizes is with the appropriate size abbreviation such as B (bytes), KB (kilobytes), MB (megabytes), etc. However, this makes it … [Read more...]